



NewTrend · Wi-Fi smart timer switch
Product overview
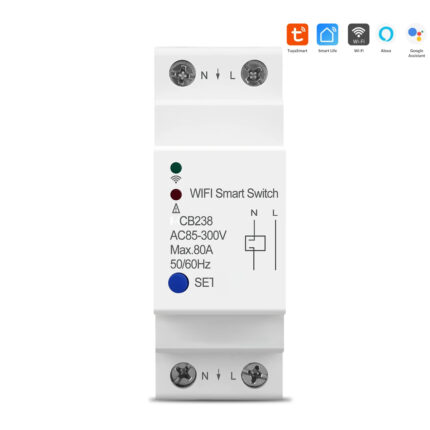
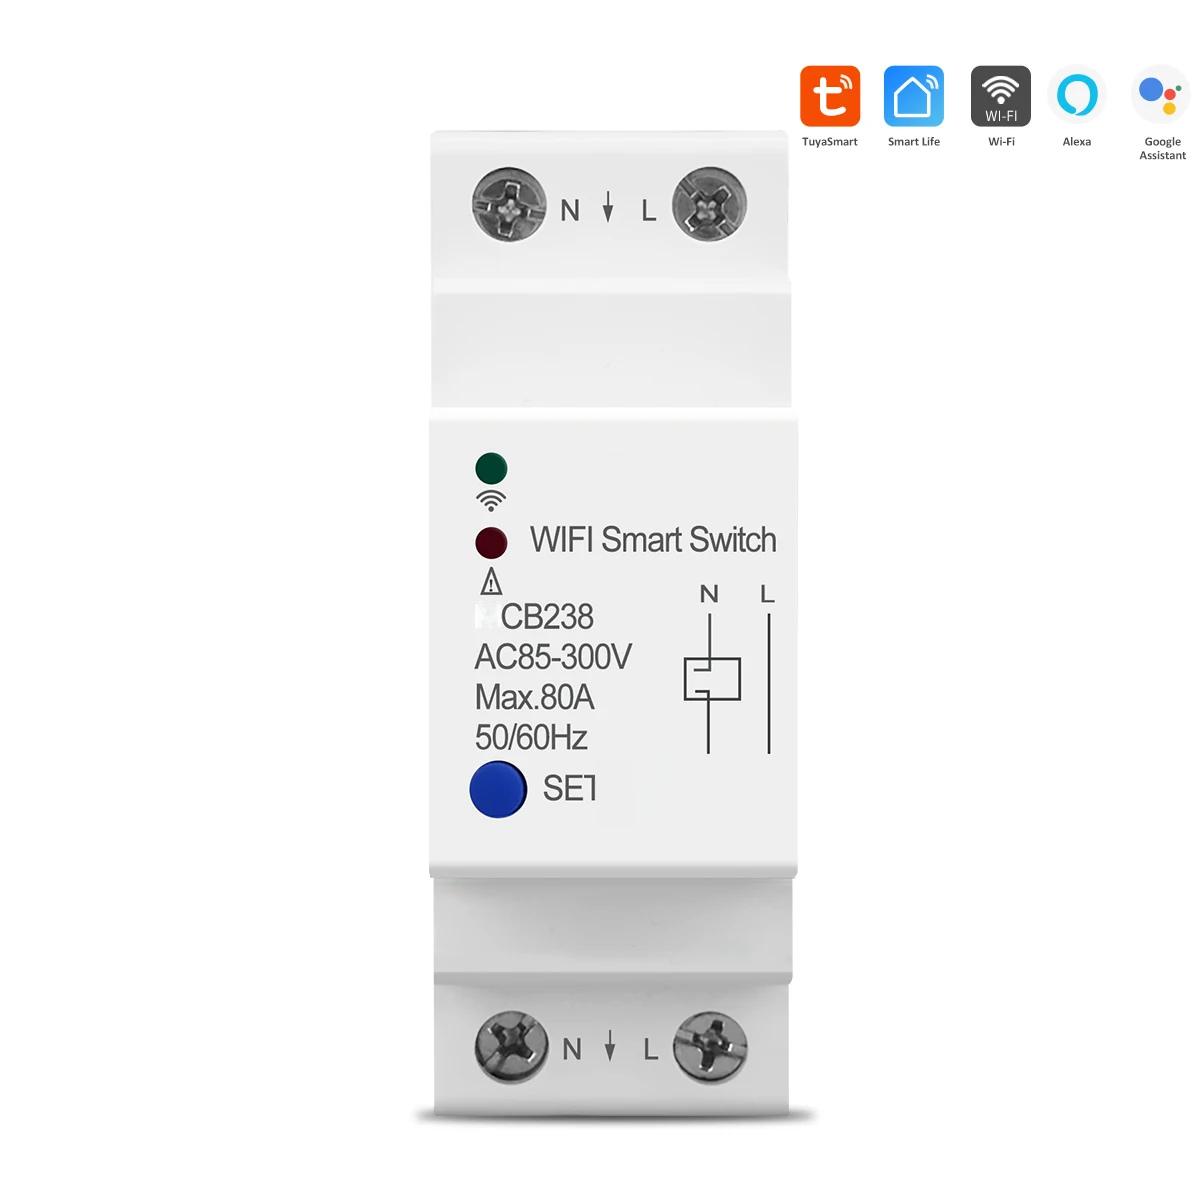
The CB238 is an 80A DIN-rail smart switch for app-based ON/OFF control and timed operation of connected lighting and appliances. It works with Tuya Smart or Smart Life over a 2.4GHz Wi-Fi network and provides local control through its SET button. Schedule, countdown and loop-timer functions are described in the original product material.

Technical specifications
| Model | CB238 |
|---|---|
| Photographed current rating | Maximum 80A |
| Photographed supply marking | AC 85–300V |
| Written supply reference | AC 100–240V |
| Supply frequency | 50/60Hz |
| Contact configuration reference | 1NO (SPST-NO) |
| Wireless network | 2.4GHz Wi-Fi; 5GHz networks are not supported |
| Supported apps | Tuya Smart / Smart Life |
| Timer references | 30 timer modes; up to 100 ON/OFF programmes per day or week |
| Countdown range | 1 minute to 23 hours 59 minutes |
| Programme memory | Retains programmed schedules when disconnected from the network |
| Power recovery behaviour | Written reference: retains the closed-contact state after supply recovery |
| App sharing reference | Up to 100 people |
| Local control | SET button; manual ON/OFF and pairing |
| Ambient temperature reference | −10°C to +60°C |
| Mounting | 35mm DIN rail |
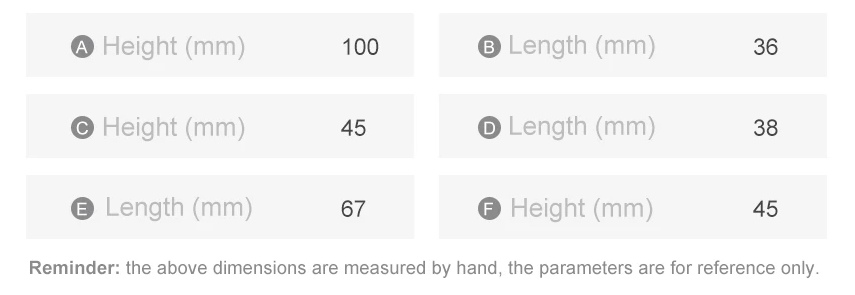
| Outline references | Illustrated: 100 × 36 × 67mm; written: 100 × 35 × 67mm |

Schedules, countdown and programme memory
Set ON/OFF periods in the app for daily or weekly operation. The source lists 30 timer modes and up to 100 ON/OFF programmes, plus a countdown from one minute to 23 hours 59 minutes. After network disconnection, the switch retains the programmed schedule and continues to follow it.

Remote control and voice integration
Use Tuya Smart or Smart Life to switch a connected circuit remotely. The original illustrations show integration with Alexa and Google Assistant for voice operation. Network and app setup are required for connected functions.

Manual switching and pairing
Press SET for local ON/OFF control. Hold the key until the Wi-Fi indicator enters pairing mode. The original app guide uses a five-second hold, while the product callout says more than ten seconds; follow the flashing indicator and the instructions for the supplied version.
Shared access and supply recovery
The written product reference supports app sharing with up to 100 people. It also describes contact-state memory: when the contact was closed before a power interruption, it remains closed after the supply recovers. Set the operating schedule for the intended equipment.

Current-limit reference
The original text states that the load is disconnected when its current exceeds the applicable maximum rating, referring to 80A and 16A versions. The pictured and listed unit on this page is marked Max.80A; a separate 16A configuration is not opened without a matching identified unit. No short-circuit breaking capacity is specified by the supplied material.

Terminals and connection
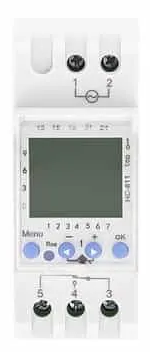
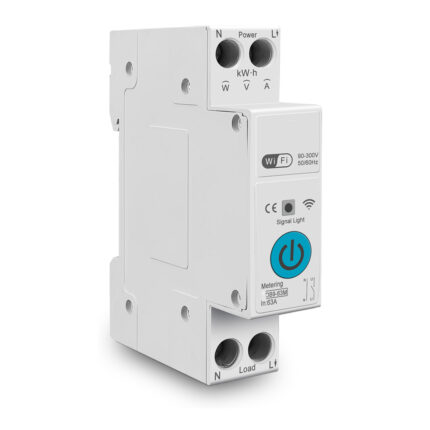
Connect the supply and load according to the upper and lower N/L terminal markings and the supplied connection example. The source identifies one normally open contact. Use the matching factory diagram for the exact supplied unit.

Smart Life setup
- Download Smart Life from the applicable app store and power the switch.
- Hold SET to enter Wi-Fi pairing mode and confirm that the indicator flashes.
- Connect the phone to the available 2.4GHz Wi-Fi network and choose “Add device”.
- Enter the network credentials and complete device connection in the app.
- Keep the router, phone and switch close during pairing, as shown in the original quick-start guide.

Dimensions and installation
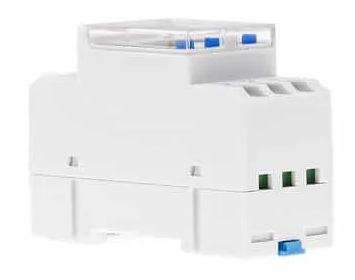
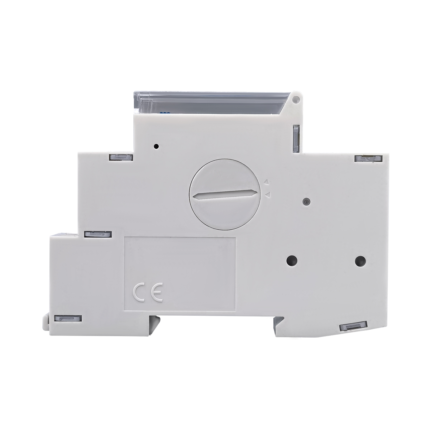
The illustrated dimension reference gives 100mm overall height, 36mm body width and 67mm overall depth, with 45mm and 38mm local references. The written description gives a 35mm width. These original references are retained separately; the dimensional table includes its manual-measurement note.
Applications
Typical illustrated uses include household lighting, appliances and other circuits requiring scheduled or remote switching. The source images show manual control, DIN-rail mounting and app-based operation rather than a conventional operating handle.